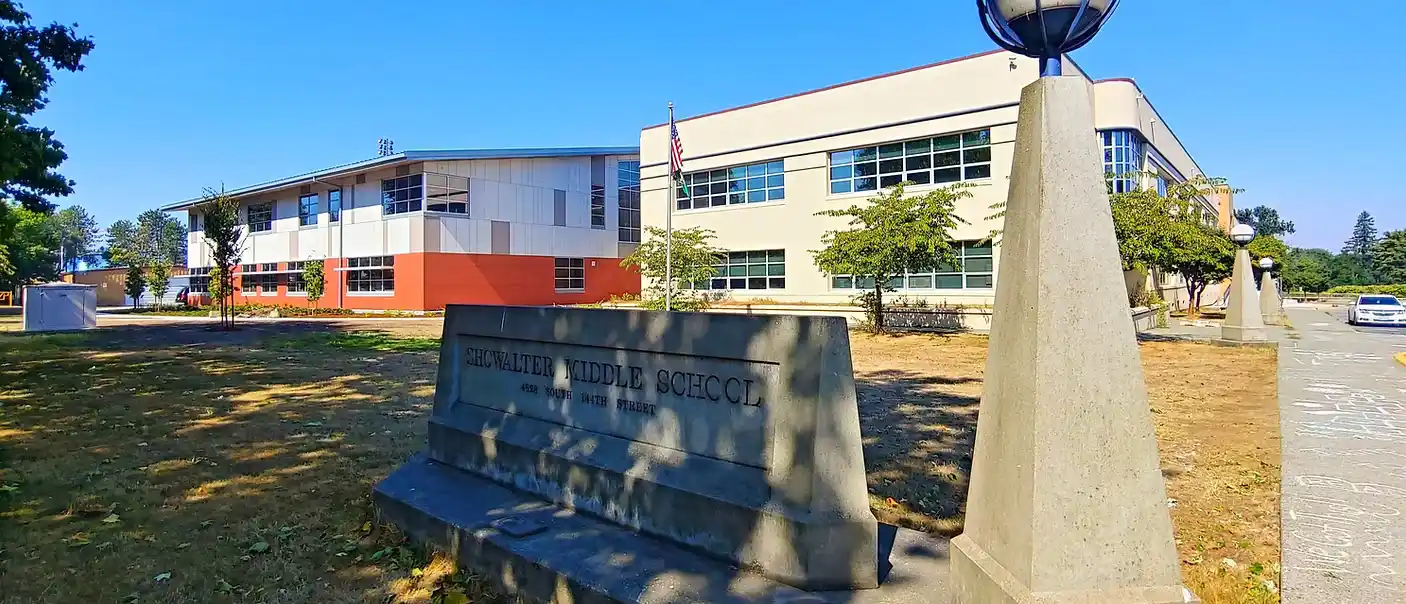
Showalter Middle School
General Project Info
- Location: Tukwila, WA
- When: 2019 - 2021
- Company: Andy Johnson & Co., Inc.
- Footprint: ~ 45,000 sq.ft.
- My Role: Superintendent
About the Project
- Demolition of 1 story classroom building and replaced with 2 story classroom building totalling 19,993 SF
- Commons area addition at 2,008 SF
- Addition to gym at 2,256 SF to include new collapsible bleachers
- Replacement of carpet tile at all existing classrooms
- Mechanical equipment upgrades throughout the existing school
- Upgraded Fire Alarm System
- Addition of secure vestibule entry
- New storm water detention system
- Installation of 3 temporary portables.
🧩 Construction Project Features
- Selective demolition of portions of the existing building and entire demolition of one wing.
- Custom steel girder engineered to support one end of 6 of the 9 the gymnasium roof beams to accomodate the expansion to the west
- 287,503 gallon capacity stormwater detention tanks installed underground beneath portable classrooms
- 8” cast-in-place concrete shear-wall against existing structure (engineered lagging) in lieu of shot-crete placement
- New Sky-Bridge adjoining new ‘B-Wing’ to existing ‘A-Wing’ of school.
- Custom-angle floorplan at ‘B-Wing’ including custom angle features at exterior facade and rain-screen.
💡 Technologies and Skills I used
- Plan Review
- Shop-Drawing Review
- Planning and schedule coordination
- 3D BIM Coordination using Navisworks
- Making coffee
- Making allies
Photos
Sometimes you know a challenge when you see it
 The orange-highlighted areas are the areas we had work in.
 We collaborated with the school to come up with this plan for access during the school year. Note: this is a satellite view of the same campus as the last photo, it’s just rotated 90 degress counter-clockwise. North is up in this image. West is up in the previous plan-view.
These portables go first

Then most of what you see in this photo
 Everything to the right of the green transformer goes away.
The back wall can’t stay
 Notice the large burgundy beams at the top of the photo? We held those up with scaffolding while we removed almost the entire back wall. We actually lifted this whole end of the roof by about 3” to get the new steel girder installed and then lowered it down onto the girder once it was in place.
This breezeway gets replaced with a skybridge

287,503 gallons
 Installing two (2) each, 6ft diameter corrugated detention pipes 680 feet long. Note: this was where the old portables were and underneath where the new portable classrooms will be. I was a bit surprised this project required so much detention capacity considering the school is located at the top of large hill just West of I-5 near SouthCenter.
Don’t mind us, just gonna slip this in here real quick…
 The girder actually shipped in two pieces from the fab shop. It was welded on the ground with shims to ensure the camber was correct. Then, (you can see this if you look closely) we had to mount the girder to the two columns at each end and ‘tilt’ the assembly into place underneath the existing roof system because the roof hung past the columns by over a foot. So the crane was essentially just there to lift it enough to get it vertical and allow the iron workers to set the bottom of the columns down over the bolts and then the forklift pushed the top into place while the crane gave slack. It was an exciting day!
 Here’s a better photo from when we were pouring the new stemwalls for the expansion where you can see just how far underneath the roof system the steel had to be.
Just going to pull a few things out…
 As if the gym wasn’t enough fun, we had to wait to do the commons demo until the steel arrived (note the ‘C’-channel above the opening which is basically holding up everything above what we cut out) which was after the new slab was already poured. I’ve seen a few demo tricks here and there and this one using the old tires works! This was a pretty fast and clean operation if I say so myself.
We opted to self-perform this wall as cast-in-place in lieu of shot-crete
 This was a little nerve-wracking because we used epoxy anchors to hold the forms against the existing wall for the pour. This was not only a cost-saving method, but also a time-saving one. Plus, it gave us an opportunity to flex our engineering ‘muscle’ calculating the proper spread and quantity of anchors, whalers and strong-backs to make sure it didn’t blow out the bottom during the pour. Maybe I’ll do a blog post on just this some-day…
The AJCO crew did an excellent job on it!

Oh, the old ‘B-Wing’ is gone by the way
 The wood guard-rail in the middle is the elevator pit. I could do a whole blog-post on those as well…
But wait! There’s more!
 While we’re working on all of what you saw in the above photos on the West side of the (occupied) building, we also need to get going on this new ‘secure’ entrance. Where are they going to go in and out of the building???
Skybridge!!!
 Ok, it’s not super long or tall or anything, but what was just a window at a dead-end hallway became a new doorway to a new building! I enjoyed building it even if the kids don’t appreciate it.
B-Wing Steel Structure: East
 Here’s a view looking at the new building from the new skybridge.

B-Wing Steel Structure: West
 Here’s another view from where my job-office sat from the West.
Commons Expansion and B-Wing CFS Framing
 At the left of the photo, you see the grey stucco base-coat of the commons addition and in the center of the photo, metal-stud framing has started around the perimeter of the building.
…When will it be dried-in?
 Modern weather-barrier systems like this peel-and-stick product make fast work over the sheathing to get the building ready for insulation and interior work. Despite how fast this building went up, it’s always a race to get dried-in because so much of the interior work requires a controlled-atmosphere (and no rain water). This is especially true (and problematic) in the pacific northwest.
Full-length roof panels
 These roof panels were over 70 feet long! They hung more than 10 feet off the back of this flat-bed trailer.
Gym Expansion and refurbished floor
 The dark area in the photo is the new expansion area where the collapsible bleachers will get installed. You can see the steel truss assembly at the top of the image; it’s painted white and has a screen installed in front of it to keep the sports balls from getting stuck in the braces! Notice how those burgundy beams span all the way across the gym?
…Every Piece had to be cut
 Ok. Nothing against the design here, it looks great, but something we didn’t plan on was the fact that the siding crew had to cut each and every one of these fiber-cement panels to the pattern you see. Not only that, but the panels were sourced out-of-state and had a long lead-time so cutting wrong was not an option so…it was really slow. Don’t get me wrong, it would’ve taken us just as long if we self-performed the work, but the duration was not planned for in the schedule…
Speaking of things we didn’t plan…
 Look closely in the middle of the sidewalk.
 It’s harder to see in this one, but take my word for it…they’re all cracked…
 See?
See?
 A little rain really highlights the issue…
 Notice how all the landscaping is already installed? We tried to rectify the issue between the concrete supplier and the finishers before the landscaping went in but it quickly devolved into a lot of carefully-curated responses and responsibility-avoidance techniques so we ultimately came up with a solution that satisfied the school district, retained the sidewalks in place, and dind’t impact our construction schedule!
Ardex to the rescue!
 We treated the cracks with epoxy, lightly ground off the existing finish, and re-finished them in-place with Ardex CP.
 …And they turned out like new!
Skybridge
 Here’s the completed sky-bridge which is obscured from the public-facing side by this perforated metal panel feature. The perforations are a binary representation as part of the STEM-theme of the building.
New Secure Main Entrance
 Here’s the new main entrance with automated doors, a new ADA ramp, handrails, and dimensional letter signage above.
New Gymnasium Bleachers
 Here’s the collapsible bleachers I promised…and lights!
New Expanded Commons Area
 Here’s the commons expansion with the color-matched stucco finish completed.
New STEM ‘B-Wing’ Building Interior
 And here’s the inside of the new STEM building from the ground floor. Note: those are rolling benches which we made from sections of the roof beams from the previous building that was here. We stowed them for the entire project until the end, refinished them and added casters.
 And here’s a view from just inside the building from the skybridge.
Oh! I forgot about COVID happening in the middle of this project…
 I’ll have to do a blog-post about that as well eventually…
🌐 More Info
🎯 Objective / Learnings
- Phased and temporary construction
- 3D BIM coordination
- Advanced Structural Retrofitting Techniques
- Intense ‘Just-In-Time’ material delivery management